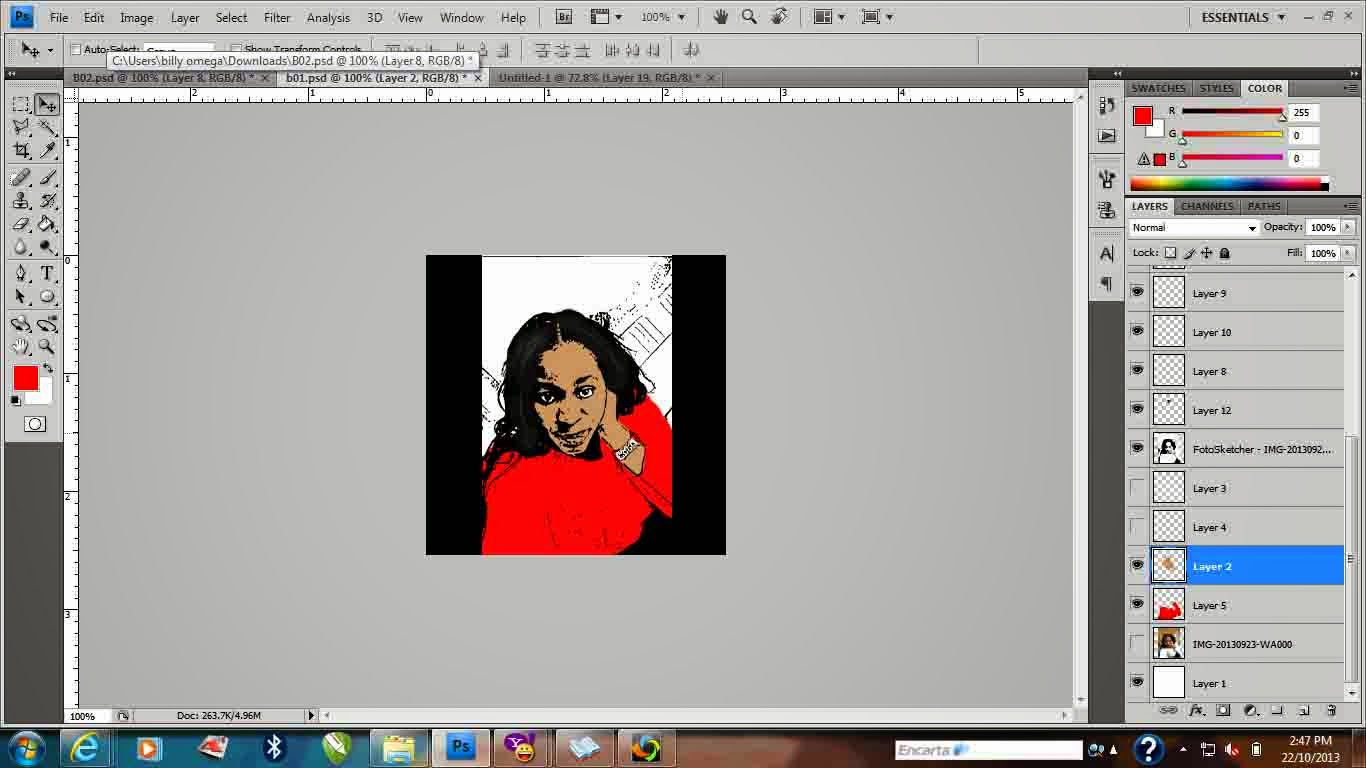
An image animation in Photoshop CS6 or lower versions takes patience and professionalism. But, this post contains logical procedures with understandable illustrations to pick you from the amateur level or intermediate level to the advanced level of image animation.
NOTE: This tutorial takes hours to do a good job...If you want a tutorial that just applies couple of filters then this post isnt for you.
Resource image:

Step 1: Open Photoshop CS6 or any lower version. Open a new file, File > New > Width and Height should be square (that is, of the same proportion) if you are designing for a display picture or social app. But if its just for web, you can make it any size you want.

Step 2: We alreadily have an existing white background. Then, create a new layer... Layer >> New >> Layer>>OK. or click on the new layer icon at the layers window as it is in the below image.

Step 3: Click on File >> Place>> Source for an image you want to animate >> PLACE. Your image will authomatically be visualised above the white background.

Step 4: Rasterise the image, there are various ways to rasterise an object. A layer is been rasterised so as to make it accessable for edition. Right click on the layer which contain the image and select Rasterise.

Step 5: The lady on my image opened her eyes and this tutorial is to animate her to make her blink her eyes. The next step, duplicate the rasterised layer. To do that, right click on the layer with the image and press Ctrl + J to duplicate the original image.

Step 6: Select the Clone Stamp tool on the tool box. It is a very useful tool in this tutorial and therefore we will be using the clone stamp tool to blend the facial skin color above the eye.
NOTE: uneye the original image. We'll continue to work on the layer we just duplicated.

Step 7: The Clone Stamp is a tool not all graphics artist use because it has almost the same effect with the spot healing brush tool. To use the Clone Stamp tool, Press dow your Alt key and click on a spot on the face to identify the skin color then gently apply on the eye.
NOTE: You have to be very careful when selecting a spot to be used. You can repeat clone stamp identification until you get the perfect color for your blend.

The whole eye will be covered with the facial color.


Step 8: Visualise the original image and uneye the the layer we just used clone stamp on. Select a reactangular marque tool on the tool box and gently drag a rectangular box on the eye. Then, press Ctrl + J to cut out the marque on the next layer.

Step 9: The newly cropped right eye layer is to be moved above all layers so as to visualise it on the eye-blended layer.

Step 10: Click on the layer that has the croopped eye. Use the polygon lasso tool to trace out the hair of the eye-lid. This is because in our animation the hair been traced out of the image will be used to help make a realistic losed eye in our animation.

After uing the Lasso tool to trace out the hair. After tracing the upper hair in the eye, press Ctrl + J to duplicate the selection in a new layer. NOTE: uneye the right eye layer to view the new hair of eye-lid layer.

Step 11: We need to change the direction of the hair by flipping it vertically. To do that, click on the eye-lid layer Go to Edit, move to Transform then select Flip vertical.

Step 12: Visualise the right eye layer to know the exact position your eye-lid should be placed. Press down arrow key repeatedly to place it correcly.
NOTE: When doing this, some images needs the use of rotation to perfectly place them. To do that, press Ctrl + T to transform and then press R to rotate. drag the object to rotate to your best fit.

Step 13: Now we got our perfect spot for the eye-lid. we need to make it realistic with some lightening. This is one of the most important part of this tutorial. You must properly note how this lightening effect is been applied. Lightening effects are been applied based on designers styles.
To create a lightening, follow below procedures:
(a) Create a new layer.
(b) double click on the foreground color. (the color below the toolbox)
(c) Pick a white color preferrably
(d) Click on OK
(e) Select a brush.
(f) Change Opacity to 12%
(g) Right click on the image, reduce size of the brush to 30px or more
(h) Change thickness to 0%
Then, gently apply lightenings.


We are perfectly done with the right eye. Repeat step 8 - 14 for the left eye. When you are done. you should have something similar to this below illustration. Then we move to animation.

Step 15: Merge all layers contributing to closeness of the eye except the original image. We don't want a situation whereby we will be disturbed with the layers to work on when animating. Select all layers except the original image. To do this, click on the top layer, press down the Shift key and click on all other layers except the original image layer. Then, Press Ctrl + E to merge the layers together.

Step 16: Animation is the fianl step of this tutorial. To activate animation, If you are using CS6 for this tutorial double-click on the timeline tab to view the window. For CS5 users and lower versions. To activate animation, goto Windows >> Animation.

Step 17:
You should be able to identify the differences between a layer and a frame set when you are aiming for an animation. The Timeline has an opt for time delay and frames. The frames and the layers have correlations. The first frame should visualise the original image. Then, you duplicate the frame with the icon below the timeline window as shown in the below illustration. Uneye the original image in the second frame and visualise the eye-closed layer. A proper well arranged frame set should appear below:

The Original image frame should be delayed for 5sec and the eye-closed layer is to be delayed for 2sec.
Step 18: Animations are mostly saved in GIF format. To save an animation on Photoshop CS6 and lower version. Go to File >> Save for web and devices. >> Save.

A final output of the animation.
Thanks.